ĮM║Ž┴Ń╝■╝ė╣ż╣ż╦ćĪó│╠ą“ŠÄųŲ╝░Ę┬šµįO(sh©©)ėŗ(j©¼)
- ╬─╝■ĮķĮBŻ║
- įō╬─╝■×ķ rar Ė±╩ĮŻ©į┤╬─╝■┐╔ŠÄ▌ŗŻ®Ż¼Ž┬▌dąĶę¬
20 ĘeĘų
-


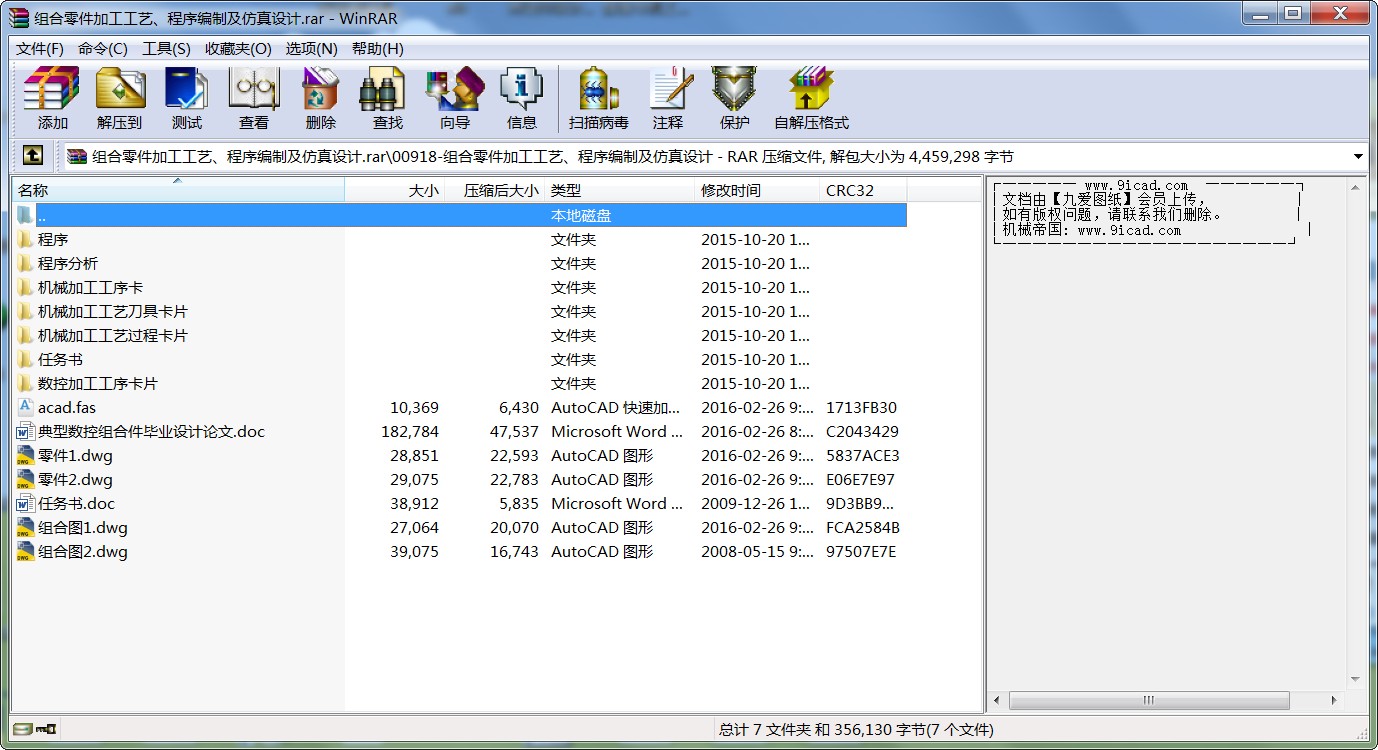
- ĮM║Ž┴Ń╝■╝ė╣ż╣ż╦ćĪó│╠ą“ŠÄųŲ╝░Ę┬šµįO(sh©©)ėŗ(j©¼).rar
š¬ę¬
öĄ(sh©┤)┐žÖC(j©®)┤▓Ą─ĮM│╔▓┐Ęų░³└©£y┴┐ŽĄĮy(t©»ng)Īó┐žųŲŽĄĮy(t©»ng)Īó╦┼Ę■ŽĄĮy(t©»ng)╝░ķ_Łh(hu©ón)╗“ķ]Łh(hu©ón)ŽĄĮy(t©»ng)Ż¼į┌ī”öĄ(sh©┤)┐ž┴Ń╝■▀M(j©¼n)ąąīŹ(sh©¬)ļH│╠ą“įO(sh©©)ėŗ(j©¼)ų«Ū░Ż¼┴╦ĮŌĖ„ĮM│╔▓┐Ęų╩Ūųžę¬Ą─ĪŻ
öĄ(sh©┤)┐žųąŻ¼£y┴┐ŽĄĮy(t©»ng)▀@ę╗ąg(sh©┤)šZųĖĄ─╩ŪÖC(j©®)┤▓īóę╗éĆ(g©©)┴Ń╝■Å─╗∙£╩(zh©│n)³c(di©Żn)ęŲäė(d©░ng)ĄĮ─┐ś╦(bi©Īo)³c(di©Żn)Ą─ĘĮĘ©ĪŻ─┐ś╦(bi©Īo)³c(di©Żn)┐╔ęį╩ŪŃ@ę╗éĆ(g©©)┐ūĪóŃŖę╗éĆ(g©©)▓█╗“Ųõ╦³╝ė╣ż▓┘ū„Ą─ę╗éĆ(g©©)┤_Č©Ą─╬╗ų├ĪŻė├ė┌öĄ(sh©┤)┐žÖC(j©®)┤▓Ą─ā╔ĘN£y┴┐ŽĄĮy(t©»ng)╩ŪĮ^ī”£y┴┐ŽĄĮy(t©»ng)║═į÷┴┐£y┴┐ŽĄĮy(t©»ng)ĪŻĮ^ī”£y┴┐ŽĄĮy(t©»ng)Ż©ęÓĘQū°ś╦(bi©Īo)£y┴┐ŽĄĮy(t©»ng)Ż®▓╔ė├╣╠Č©╗∙£╩(zh©│n)³c(di©Żn)Ż©įŁ³c(di©Żn)Ż®Ż¼╦∙ėą╬╗ų├ą┼Žóš²╩Ūęį▀@ę╗³c(di©Żn)╗∙£╩(zh©│n)ĪŻōQŠõįÆšfŻ¼▒žĒÜĮo│÷ę╗éĆ(g©©)┴Ń╝■▀\(y©┤n)äė(d©░ng)Ą─╦∙ėą╬╗ų├ŽÓī”ė┌įŁ╩╝╣╠Č©╗∙£╩(zh©│n)³c(di©Żn)Ą─│▀┤ńĻP(gu©Īn)ŽĄĪŻX║═Yā╔ŠSĮ^ī”£y┴┐ŽĄĮy(t©»ng)Ż¼├┐ŠSČ╝ęįįŁ³c(di©Żn)×ķ╗∙£╩(zh©│n)ĪŻį÷┴┐£y┴┐ŽĄĮy(t©»ng)ėąę╗éĆ(g©©)ęŲäė(d©░ng)Ą─ū°ś╦(bi©Īo)ŽĄĮy(t©»ng)ĪŻ▀\(y©┤n)ė├į÷┴┐ŽĄĮy(t©»ng)Ģr(sh©¬)Ż¼┴Ń╝■├┐ęŲäė(d©░ng)ę╗┤╬Ż¼ÖC(j©®)┤▓Š═Į©┴óę╗éĆ(g©©)ą┬Ą─įŁ³c(di©Żn)Ż©╗∙£╩(zh©│n)³c(di©Żn)Ż®ĪŻ╩╣ė├į÷┴┐£y┴┐ŽĄĮy(t©»ng)Ģr(sh©¬)Ą─X║═YųĄĪŻūóęŌŻ¼╩╣ė├▀@éĆ(g©©)ŽĄĮy(t©»ng)Ģr(sh©¬)Ż¼├┐éĆ(g©©)ą┬Ą─╬╗ų├į┌X║═Y▌S╔ŽĄ─ųĄČ╝╩ŪĮ©┴óį┌Ū░ę╗éĆ(g©©)╬╗ų├ų«╔ŽĄ─ĪŻ▀@ĘNŽĄĮy(t©»ng)Ą─╚▒Ž▌╩ŪŻ¼╚ń╣¹«a(ch©Żn)╔·Ą─╚╬║╬Õe(cu©░)š`ø]ėą▒╗░l(f©Ī)¼F(xi©żn)┼cąŻš²Ż¼ätÕe(cu©░)š`Ģ■į┌š¹éĆ(g©©)▀^│╠ųąĘ┤Å═(f©┤)┤µį┌ĪŻ
ė├ė┌öĄ(sh©┤)┐žįO(sh©©)éõĄ─┐žųŲŽĄĮy(t©»ng)═©│Żėąā╔ŅÉŻ¼╝┤³c(di©Żn)╬╗┐žųŲŽĄĮy(t©»ng)║═▀B└m(x©┤)┐žųŲŽĄĮy(t©»ng)ĪŻ³c(di©Żn)╬╗┐žųŲöĄ(sh©┤)┐žŽĄĮy(t©»ng)ÖC(j©®)┤▓Ż©ėąĢr(sh©¬)ĘQ×ķ╬╗ų├┐žųŲŽĄĮy(t©»ng)öĄ(sh©┤)┐žÖC(j©®)┤▓Ż®ų╗ėąčžų▒ŠĆ▀\(y©┤n)äė(d©░ng)Ą──▄┴”ĪŻ«ö(d©Īng)čžā╔▌SŠĆęįĄ╚ųĄŻ©X2.000,Y2.000)═¼Ģr(sh©¬)ŠÄ│╠Ģr(sh©¬)Ż¼Ģ■ą╬│╔45Č╚ą▒ŠĆĪŻ³c(di©Żn)╬╗┐žųŲŽĄĮy(t©»ng)│Żė├ė┌ąĶ┤_Č©┐ū╬╗Ą─Ń@┤▓║═ąĶ▀M(j©¼n)ąąų▒ŠĆŃŖŽ„╝ė╣żĄ─ŃŖ┤▓╔ŽŻ¼ęįę╗ŽĄ┴ąąĪ▓Į▀\(y©┤n)äė(d©░ng)ą╬│╔╗Īą╬║═ą▒ŠĆĪŻ╚╗Č°Ż¼ė├▀@ĘNĘĮĘ©Ģr(sh©¬)Ż¼īŹ(sh©¬)ļH╝ė╣ż▄ē█E┼cęÄ(gu©®)Č©Ą─ŪąŽ„▄ē█E┬įėą▓╗═¼ĪŻ
Abstract
N/C machine tool elements consist of dimensioning system, servomechanisms and open- or closed-loop systems. It is important to understand each element prior to actual programming of a numerically controlled part.
The term measuring system in N/C refers to the method a machine tool uses to move a port from a reference point to a target point. A target point may be a certain location for drilling a hole, milling a slot, or other machining operation. The two measuring systems used on N/C machines are the absolute and incremental. The absolute (also called coordinate) measuring system uses a fixed reference point (origin). It is on this point that all positional information is based. In other words, all the locations to which a part will de moved must be given dimensions relating to that original fixed reference point. It shows an absolute measuring system with X and Y dimensions, each based on the origin. The incremental measuring system (also call delta) has a floating coordinating system. With the incremental system, the machine establishes a new origin or reference point each time the part is moved. It show X and Y values using an incremental measuring system. Notice that with this system, each new location bases its values in X and Y from the preceding location. One disadvantage to this system is that any errors made will be repeated throughout the entire program, if not detected and corrected.
There are two types of control systems commonly used on N/C equipment: point-to-point and continuous path. A point-to-point controlled N/C machine tool, sometimes referred to as a positioning control type, has the capability of moving only a straight line. However, when two axes are programmed simultaneously with equal values (X2.000 in., Y2.000 in.) a 45ĪŃangle will be generated. Point-to-point systems are generally found on drilling and simple milling machine where hole location and straight milling jobs are performed. Point-to-point systems can be utilized to generate arcs and angles by programming the machine to move in a series of small steps. Using this technique, however, the actual path machined is slightly different from the cutting path specified.
─┐ õø
Ą┌ę╗š┬ Ė┼╩÷
Ą┌Č■š┬ ┴Ń╝■Ą─öĄ(sh©┤)┐ž╝ė╣ż╣ż╦ćĘų╬÷
1.ÖC(j©®)┤▓Ą─║Ž└Ē▀xė├
2.öĄ(sh©┤)┐ž╝ė╣ż┴Ń╝■╣ż╦ćąįĘų╬÷
3.╝ė╣żĘĮĘ©Ą─▀xō±┼c╝ė╣żĘĮ░ĖĄ─┤_Č©
4.╣żą“┼c╣ż▓ĮĄ─äØĘų
5.▌oų·╣żą“Ą─░▓┼┼╝░╣żą“ķgĄ─ŃĢĮė
6.┴Ń╝■Ą─░▓čb┼cŖAŠ▀Ą─▀xō±
7.ĄČŠ▀Ą─▀xō±┼cŪąŽ„ė├┴┐Ą─┤_Č©
8.ī”ĄČ³c(di©Żn)┼cōQĄČ³c(di©Żn)Ą─┤_Č©
9.╝ė╣ż┬ĘŠĆĄ─┤_Č©
Ą┌╚²š┬ ┴Ń╝■łD
Ą┌╦─š┬ ┴Ń╝■╝ė╣ż╣ż╦ćĄ─Ęų╬÷
1.┴Ń╝■łDśėĄ─╣ż╦ćĘų╬÷
2.┤_Č©čbŖAĘĮ░Ė
3.┤_Č©╝ė╣ż╣żą“╝░▀M(j©¼n)Įo┬ĘŠĆ
4.▀xō±ĄČŠ▀
5.▀xō±ŪąŽ„ė├┴┐
Ą┌╬Õš┬ │╠ą“Ęų╬÷
Ą┌┴∙š┬ │╠ą“
Ą┌Ų▀š┬ öĄ(sh©┤)┐ž▄ć┤▓┼cŲš═©▄ć┤▓Ą─ģ^(q©▒)äe
Ą┌░╦š┬ öĄ(sh©┤)┐ž▄ć┤▓Ą─╩╣ė├
Ą┌Š┼š┬ ┐éĮY(ji©”)
...

 ¤ßķTĻP(gu©Īn)µIį~Ż║


 įź╣½ŠW(w©Żng)░▓éõ 41072402000322╠¢

